2020-04-08

Django 21. 게시글 작성 구현 / SUMMERNOTE 적용

WYSIWYG 텍스트에디터인 Summernote를 적용하여 게시판 글쓰기를 구현합니다.


1. forms.py 생성

글 리스트, 상세보기 구현이 완료되었으므로 게시글 작성을 구현하기 위해 글쓰기 폼을 생성합니다. notice앱에 forms.py 파일을 생성하고 ModelForm을 사용해 아래와 같이 form을 생성합니다.

1
2
3
4
5
6
7
8
9
10
11
12
13
14
15
16
17
18
# notice/forms.py

from django import forms
from .models import Notice

class NoticeWriteForm(forms.ModelForm):
def __init__(self, *args, **kwargs):
super(NoticeWriteForm, self).__init__(*args, **kwargs)
self.fields['title'].label = '제목'
self.fields['title'].widget.attrs.update({
'placeholder': '제목을 입력해주세요.',
'class': 'form-control',
'autofocus': True,
})

class Meta:
model = Notice
fields = ['title', 'content']

form에 사용할 모델과 필드를 결정하는 Meta클래스 쪽에 제목과, 내용 필드를 추가하되, 게시글작성의 내용부분은 위지위그 텍스트에디터를 적용하므로 init메소드에는 title필드만 추가하도록 합니다.

2. views.py 작성

views.py에 아래와 같이 글쓰기를 위한 view를 작성합니다.

1
2
3
4
5
6
7
8
9
10
11
12
13
14
15
16
17
18
19
20
21
22
23
24
25
# notice/views.py

from .models import Notice
from users.models import User
from django.shortcuts import redirect
from .forms import NoticeWriteForm
from users.decorators import admin_required

@login_message_required
@admin_required
def notice_write_view(request):
if request.method == "POST":
form = NoticeWriteForm(request.POST)
user = request.session['user_id']
user_id = User.objects.get(user_id = user)

if form.is_valid():
notice = form.save(commit = False)
notice.writer = user_id
notice.save()
return redirect('notice:notice_list')
else:
form = NoticeWriteForm()

return render(request, "notice/notice_write.html", {'form': form})

공지사항 글작성은 관리자권한의 사용자만 글을 작성할 수 있도록 하기 위해 이전에 생성해둔 decorators에서 admin_required를 추가로 import 해줍니다. 그후 앞서 생성한 NoticeWriteFormGET으로 뿌려주고, 입력된 폼 값들이 POST로 요청되면 user변수에 접속 사용자의 세션 아이디를 담아 모델의 작성자 필드에 삽입시킵니다.

3. urls.py 작성

생성한 글작성 view를 연결하기 위해 urls.pyurlpatterns에 아래의 path경로를 추가합니다.

1
2
3
4
5
# notice/urls.py

urlpatterns = [
path('write/', views.notice_write_view, name='notice_write'),
]

4. templates 작성

앞서 작성해둔 notice_list.html에 아래와 같이 글작성을 위한 버튼을 추가합니다.

1
2
3
4
5
6
7
<!-- templates/notice/notice_list.html -->

{% if request.user.level == '0' or request.user.level == '1' %}
<div>
<a href="{% url 'notice:notice_write' %}" class="btn btn-sm">글쓰기</a>
</div>
{% endif %}

서버쪽에서 decorator로 일반사용자의 접근을 차단했지만 클라이언트에도 관리자권한이 아닌 사용자들은 버튼이 보이지 않게 하기 위해 템플릿언어로 조건을 걸어줍니다.

notice_wirte.html을 생성한 후 아래와 같이 글작성 템플릿을 작성합니다.

1
2
3
4
5
6
7
8
9
10
11
12
13
14
15
16
17
<!-- templates/notice/notice_write.html -->

<form action="" method="POST">
{% csrf_token %}
<div class="card">
<div class="card-header">
{{ form.title }}
</div>
<div>
{{ form.content }}
</div>
</div>

<div class="text-right">
<button type="submit" id="write" class="btn btn-sm">작성하기</button>
</div>
</form>

5. summernote 적용, 커스텀

위지위그란 간단히 문서편집을 위한 에디터입니다. 자주 사용되는 Ckeditor, TinyMCE, Redactor 등이 있지만 이 프로젝트의 프론트 디자인은 대부분 부트스트랩이기 때문에 부트스트랩 기반의 위지위그인 Summernote를 사용합니다.

Summernote 설치는 pip install django-summernote 명령어를 통해 간단히 설치할 수 있습니다. 하지만 저는 커스텀을 위해 프로젝트에 직접 파일을 추가하여 적용하였습니다. (포스팅에서는 CDN추가로 진행하겠습니다. Summernote 공식 사이트에 들어가면 for Bootstarp4과 같이 버전별로 CDN을 확인하실 수 있습니다.)

notice_wirte.htmlheader부분에 Summernote CDN을 추가하고 한글폰트를 적용하기 위해 summernote사이트에서 font파일을 다운받아 프로젝트에 파일을 추가한 후, 아래와 같이 커스텀을 위한 script를 작성합니다.

1
2
3
4
5
6
7
8
9
10
11
12
13
14
15
16
17
18
19
20
21
22
23
24
25
26
27
28
29
<!-- templates/notice/notice_write.html -->

<link href="https://cdn.jsdelivr.net/npm/summernote@0.8.15/dist/summernote-bs4.min.css" rel="stylesheet">
<script src="https://cdn.jsdelivr.net/npm/summernote@0.8.15/dist/summernote-bs4.min.js"></script>
<script type="text/javascript" src="/static/js/lang/summernote-ko-KR.js"></script>

<script>
$(document).ready(function () {
$('#id_content').summernote({
placeholder: '내용을 입력해주세요.',
height: 500,
minHeight: 500,
maxHeight: 500,
lang: 'ko-KR',

toolbar: [
['style', ['style']],
['font', ['bold', 'underline', 'clear']],
['color', ['color']],
['para', ['ul', 'ol', 'paragraph']],
['table', ['table']],
['insert', ['link', 'picture', 'video']],
['view', ['fullscreen', 'help']]
]
});
$('p').css('margin-bottom','0')
$('.note-resizebar').css('display','none');
});
</script>

추가할 toolbar를 설정하고, 에디터 특성상 줄바꿈을 할시 margin 간격이 심해 margin-bottom을 0으로 설정하는 css속성을 추가해줍니다. 그리고 note-resizebar에 textarea창 크기조절을 할 수 없도록 설정합니다.

Summernote 공식 사이트

6. 글상세보기 Tag Escape 방지

Summernote로 작성한 게시글을 불러올시 html 태그가 그대로 적용되어 출력되는것을 방지하기 위해서 notice_detail.html의 content 부분에 django 내장 필터인 safe를 추가합니다.

1
2
3
<!-- templates/notice/notice_detail.html -->

{{ notice.content | safe }}

7. 페이지 벗어나기 경고창 구현

글작성 창에서 새로고침, 뒤로가기 등 사용자가 작성중인 페이지를 벗어날시 경고 alert창을 띄우게 하기 위해 아래의 스크립트를 추가합니다.

1
2
3
4
5
6
7
8
9
10
11
12
<!-- templates/notice/notice_write.html -->

<script type="text/javascript">
var checkUnload = true;
$(window).on('beforeunload', function () {
if (checkUnload) return "이 페이지를 벗어나면 작성된 내용은 저장되지 않습니다.";
});
$("#write").on("click", function () {
checkUnload = false;
$("submit").submit();
});
</script>
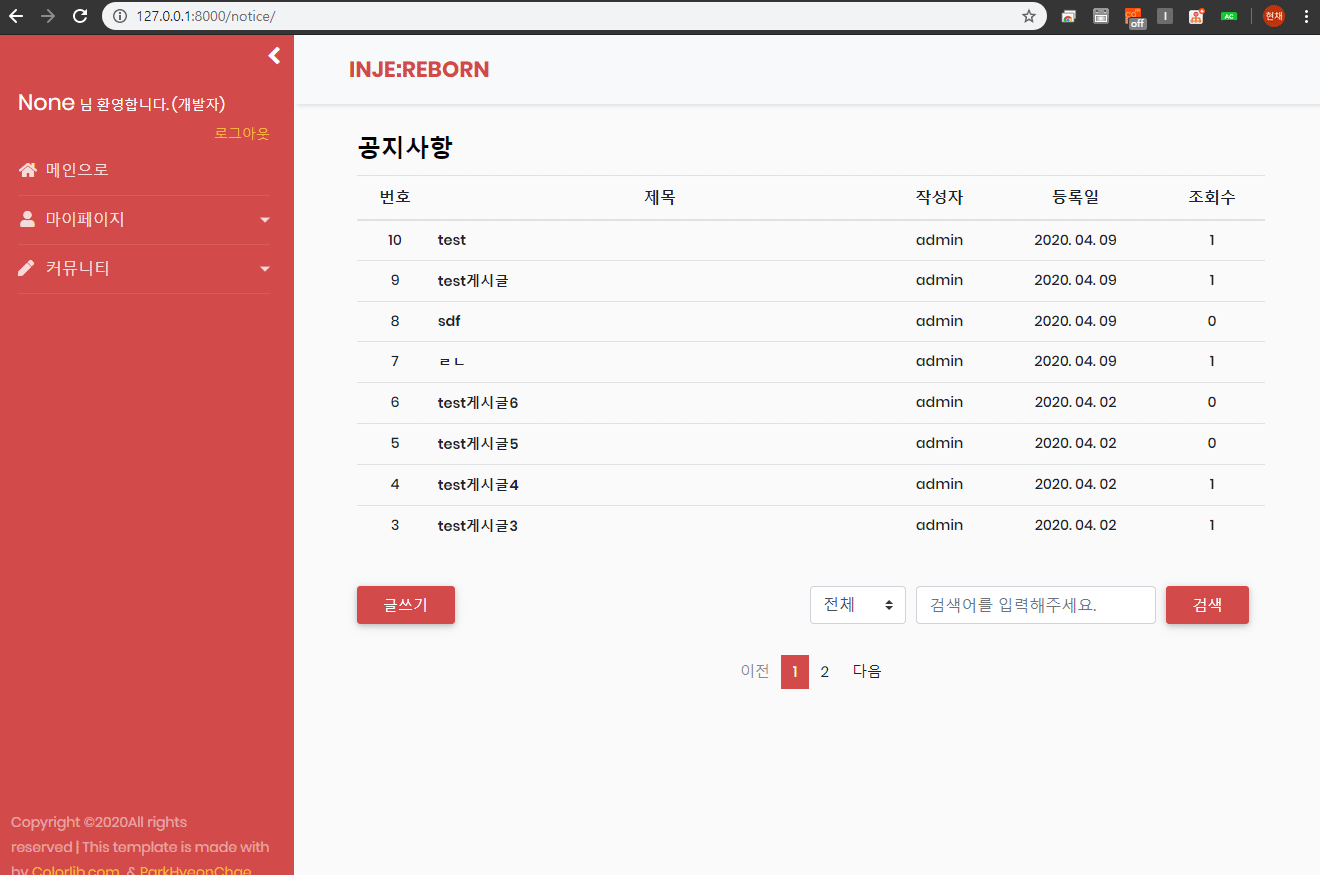
8. 결과

django-project-21

*전체 html, css 등은 자세하게 포스팅하지 않습니다. 제 Github에서 소스를 확인하실 수 있습니다.